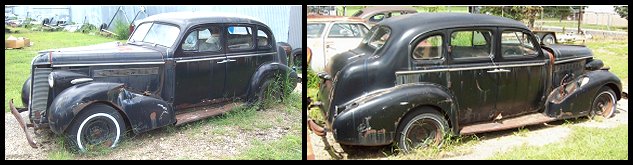
This page has pictures of my 1937 Buick Special.
| I spent part of the 4th of July three day
weekend removing the original '37 body from the rotesseri and replacing it with
the "new" '37 body. To remove old body I cut it
up in 4-5 pieces. I hate cutting up old iron but I couldn't find a new home for it
and it needed to go. Once I started cutting into it I ran into some really bad
hidden rust that made me relieved my regret about cutting it up and glad I wasn't
able to find a new home for it. There were a lot of places I hit with the sawsall
that just crumbled. |
|||||||||||

|

|

|
|
||||||||
|

|
|
|
||||||||
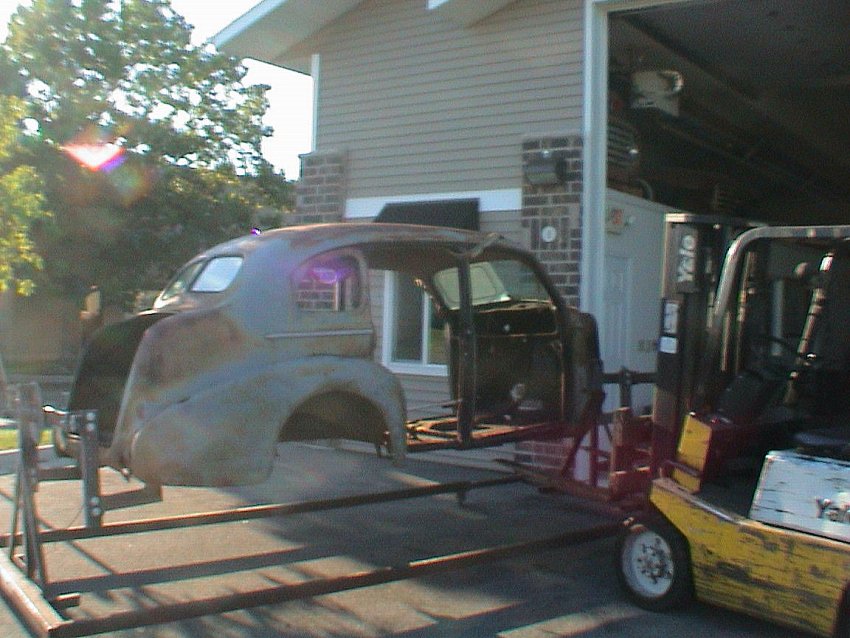
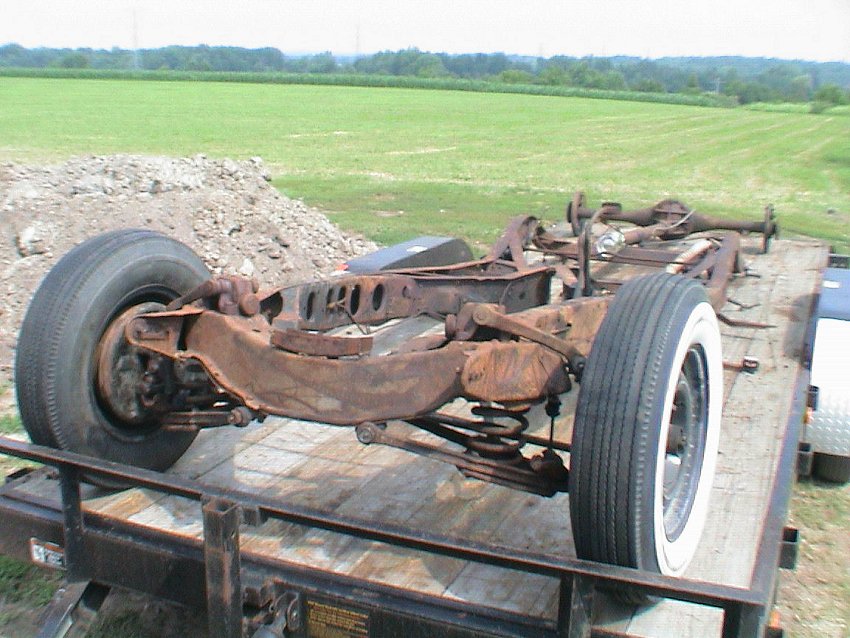
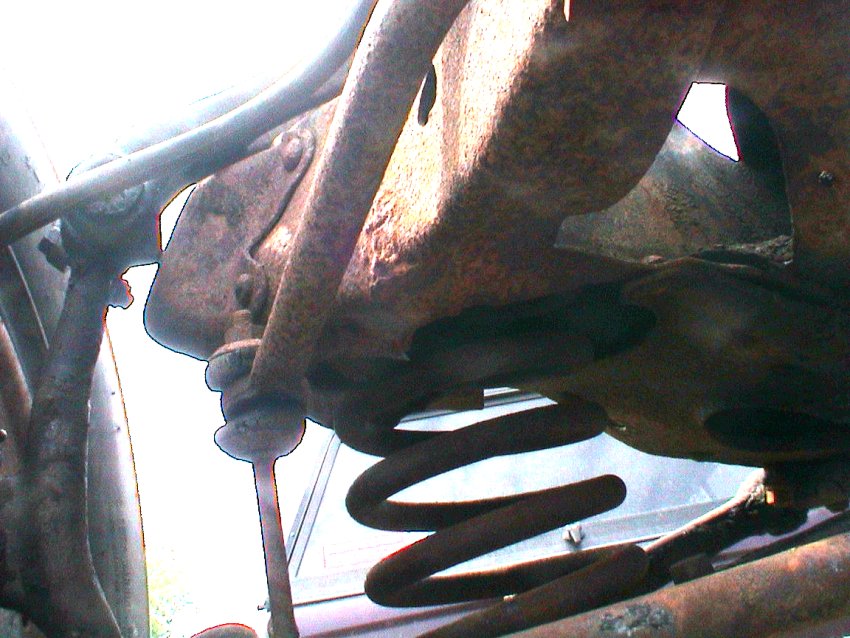
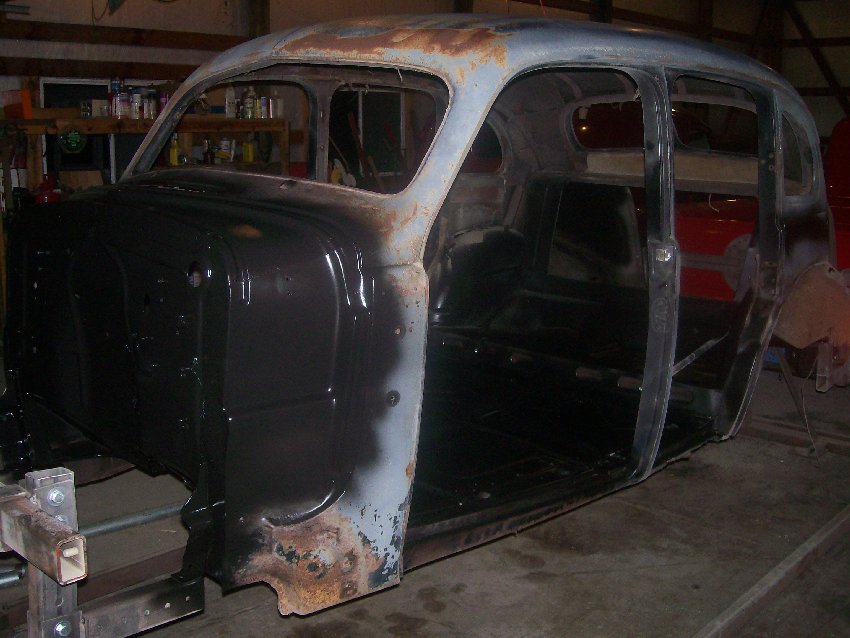
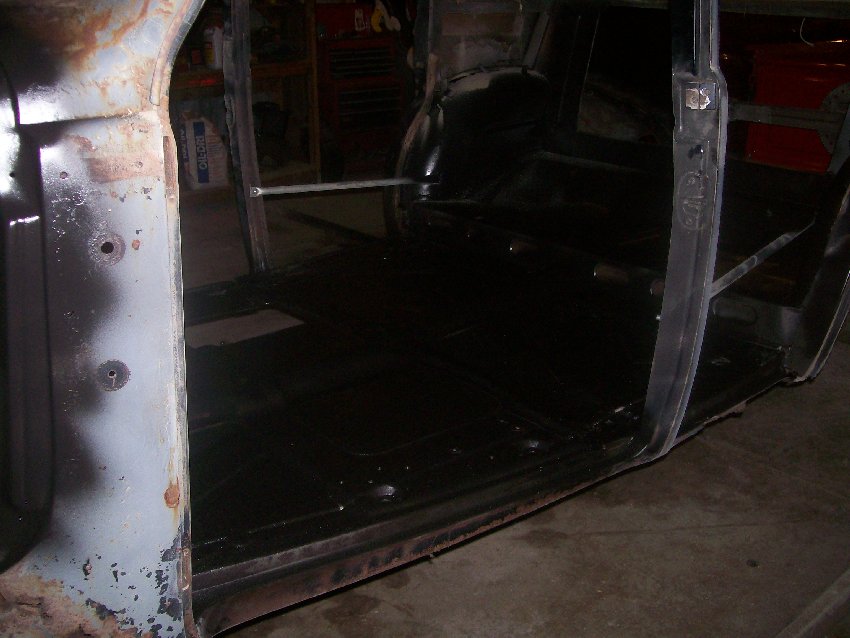
| I got the new body mounted on the rotesseri and
pressure washed the frame to get all the caked on grease off. The grease was fairly thick
and that was good, it preserved the metal underneath but it also hid a slight problem with
the frame. After getting the frame pretty much gunk free I found evidence that the car
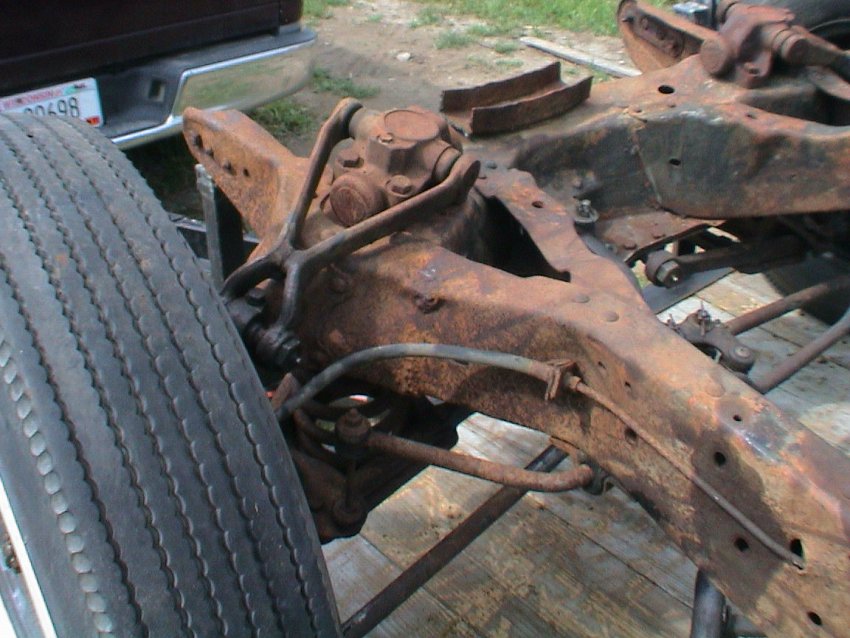
was involved in a severe front end collision some time in it's past. The front frame corner
is bent inward and has been crudely welded up. I hope that this area of the old frame is in
good enough condition to cut this area out and graft it onto this frame. On good thing that
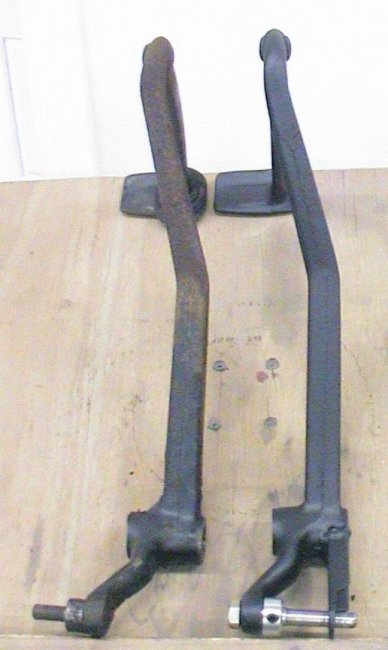
might have resulted from the accident is it looks like the suspension parts; tie rods and other
linkage parts look like they are fairly new. |
|||||||||||
|
|
||||||||||
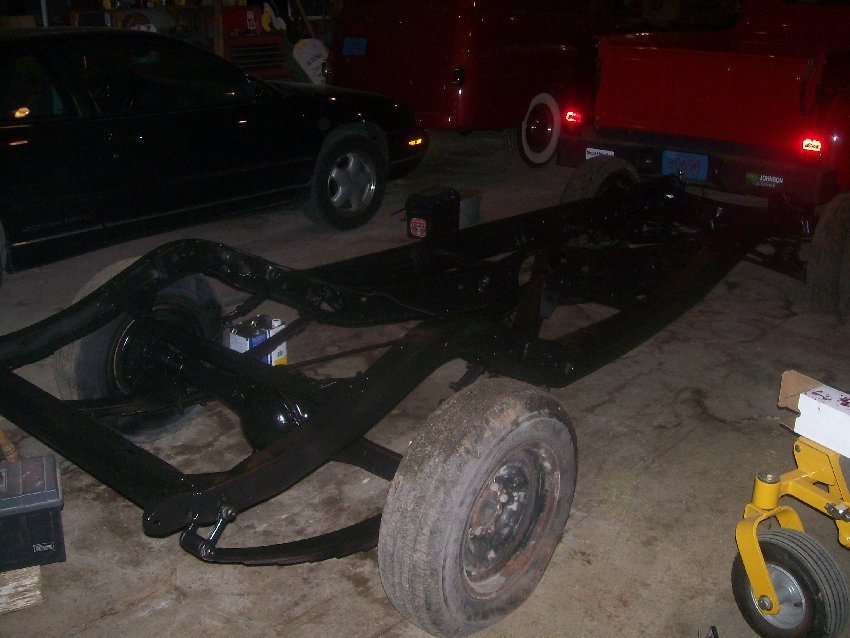
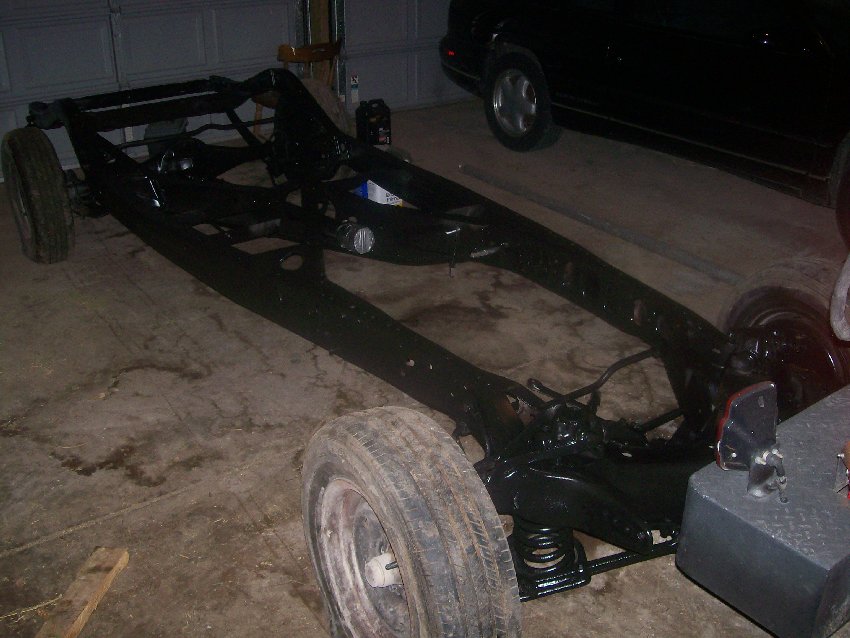
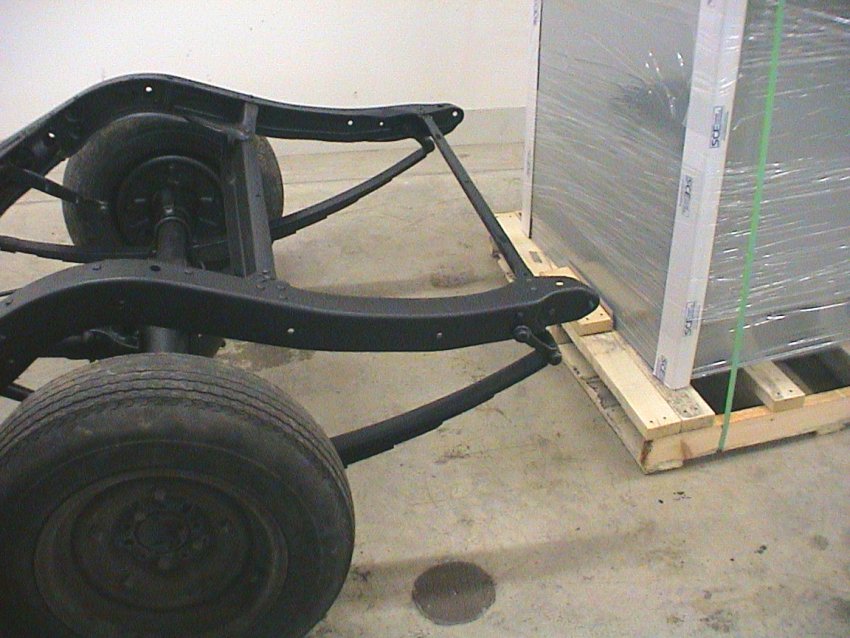
| Over the Labor Day weekend I did the one
hobby related job I detest the most, sandblasting. I got the frame blasted and
painted with a two part epoxy direct to metal paint. |
|||||||||||

|

|
|
|
||||||||
| I AM SO SICK OF SANDBLASTIN! |
|||||||||||
|
|
||||||||||
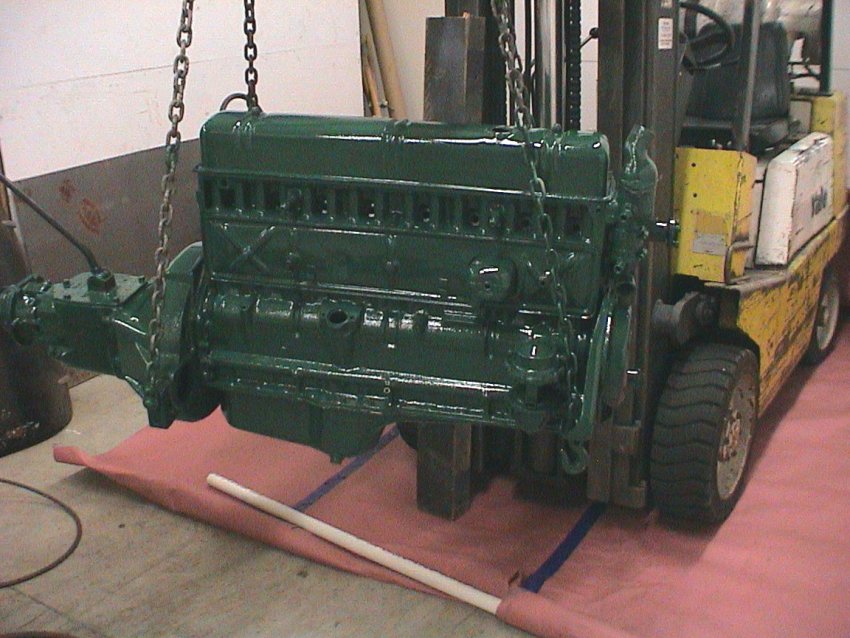
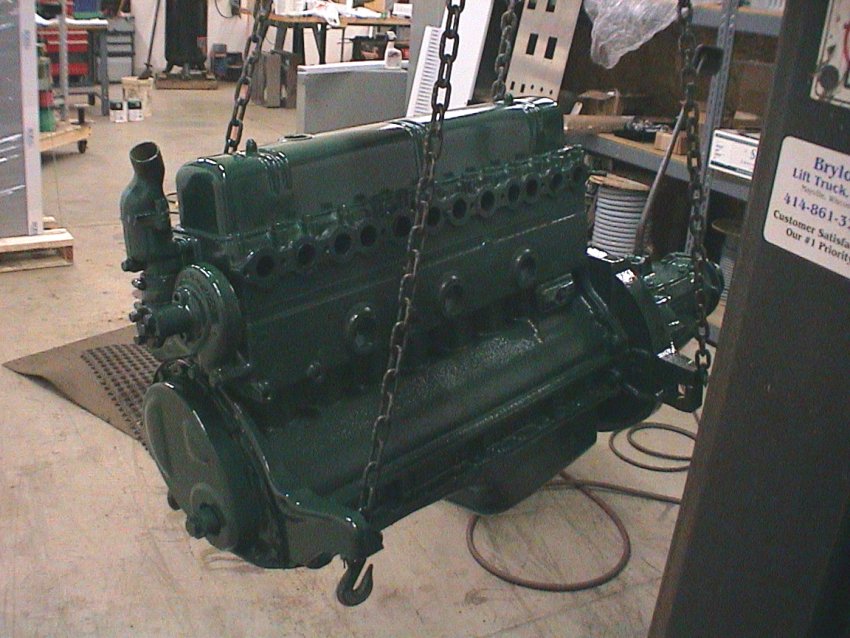
| I decided to clean up the engine and spray few coats of paint on it. It'll look real nice mounted in the repainted frame. |
|||||||||||

|
|
|
|
||||||||
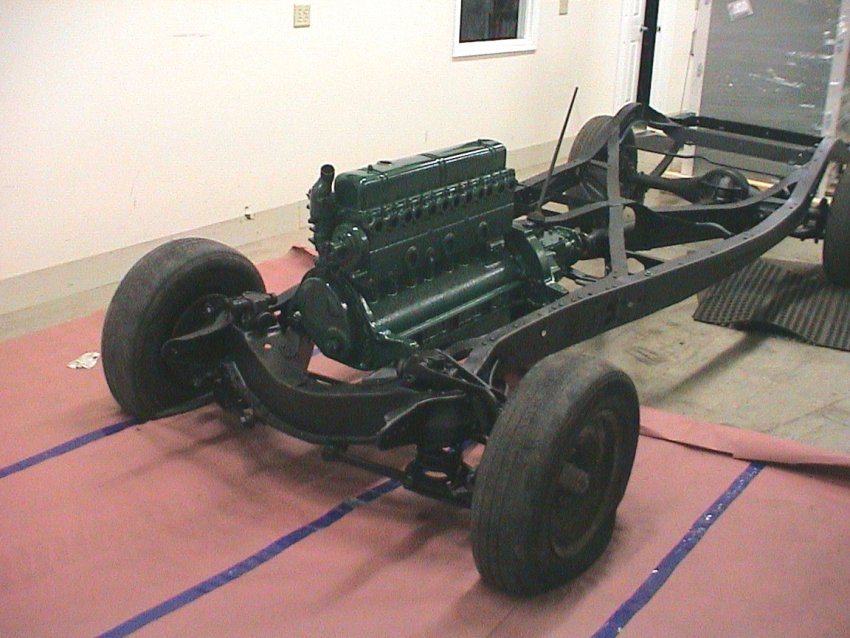
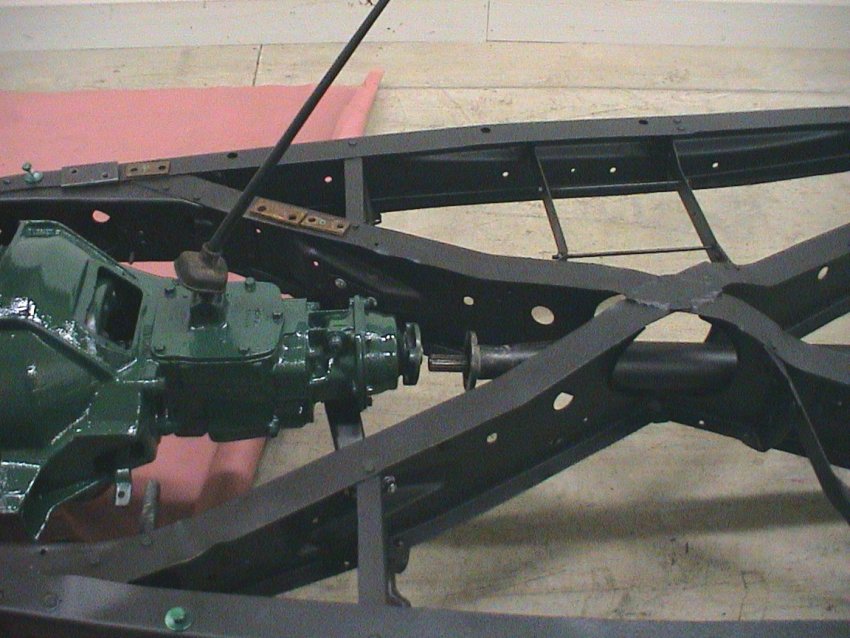
| See, the engine does look better in the frame. |
I have the engine loosely bolted. There's about 4" gap between the end of the transmission and the torque tube. I think this can be made up by pushing the rear axle forward. |
||||||||||

|
|
||||||||||
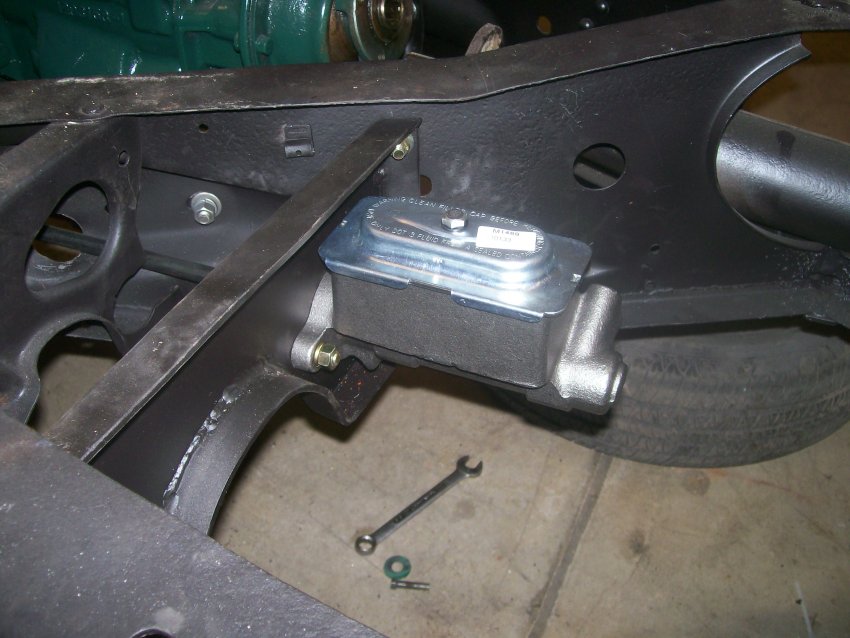
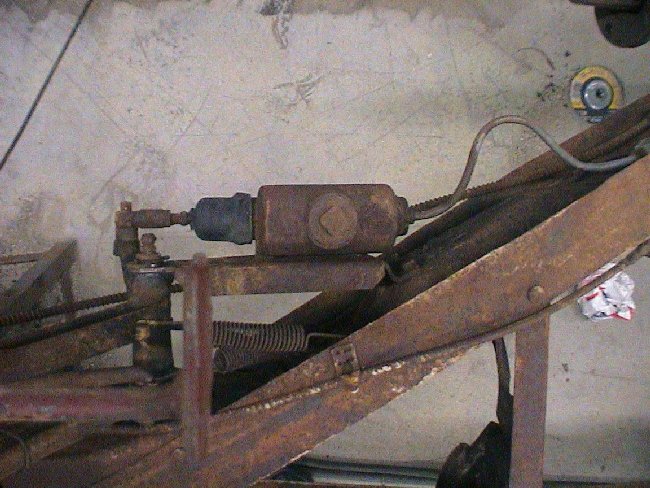
| The original master brake cylinder was junk and a new one costs around $200. I decided to upgrade to a modern two reservoir master master cylinder for two reasons;first, a modern master cylinder is cheaper and easier to find at a local auto parts store, second, I wanted the added safety of having two brake fluid reservoirs because if a leak developed in either the front or rear part of the brake system I still would have stopping abilities provided by the other half. With the old single reservoir system if a leak occurred in either the front or back all braking could be lost. |
|||||||||||
|
|||||||||||
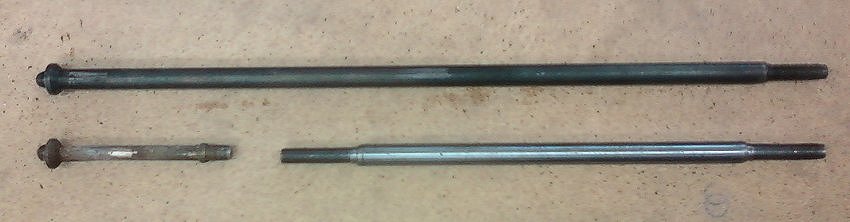
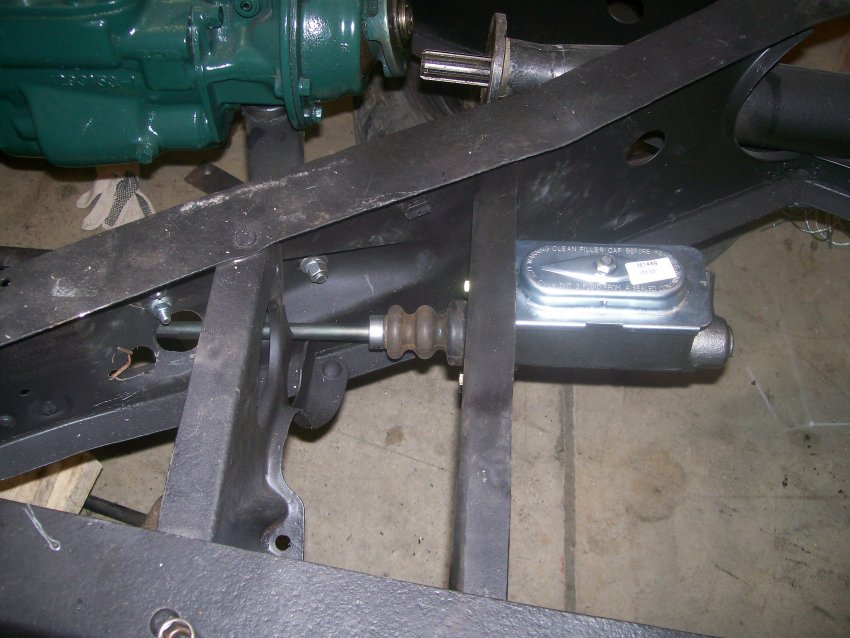
| The new master cylinder is one used in a early '70s Buick Skylark. (The master cylinder pictured is a used one for mock up purposes, a new one will be used)The new master cylinder didn't fit in the same area as the original so it was moved back about a foot. A new push rod had to be fabricated. The original rod was 3/8" thick, the new rod was made using a 1/2" rod, threaded on one end and machined to match the one used in the newer master cylinder. |
|||||||||||
| |||||||||||