|
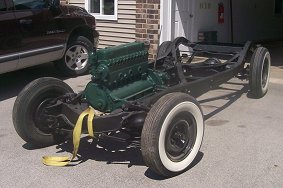
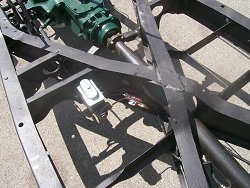
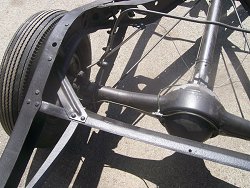
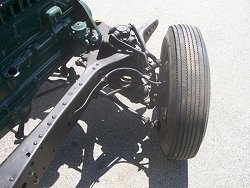
| I finally have the brakes installed a plumbed.
I think it turned out pretty good. I ran all new brake line, using a 25 foot roll
of 1/4" brake line. Double flaring is a PIA but I got it done. It was the first
time I made my own brake lines and double flaring the ends is a PIA. I did have a
few bad flares but I finally figured out how to make a good double flare. When we
bled the brake system we had a few leaks but all they took was some additional tightening.
|
|
|
|
|
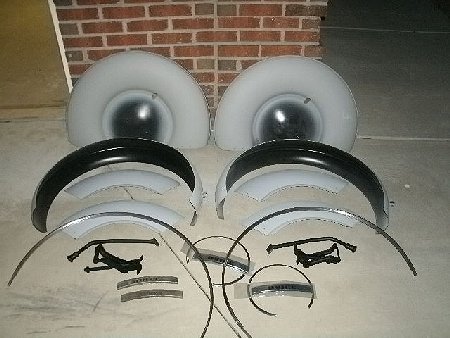
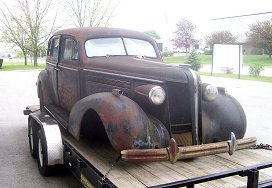
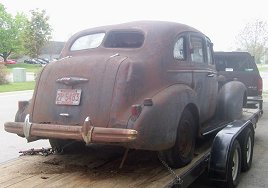
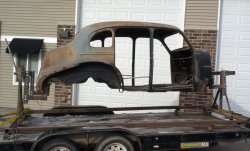
| I bought this '37 Special on an
on-line auction. I took a chance doing so without seeing in person first but
I had two different people from the HAMB board independantly send me very helpful
detailed photos
of the car before I started bidding. I wasn't disappointed. I think I might
have paid a little too much for it but it has three parts I really needed for
my car. The hood trim, the nose trim and back seat bottom cushion was missing
on my car and this car had all these parts. The trim pieces are in really nice
condition. I'm sure I'll be able to get most, if not all of money back when I
part it out and scrap the rest.
|
|

|

|
|
| Well, again it's be a while since I updated
my progress on the Buick. That's because I haven't done much with it. If you go
to the main page and click on my F-2 section you will see my wife and I went to
a truck meet in southwestern Kentucky. I spent most to the spring and summer of 2012
getting the old truck safe and ready for the long trip. It was a lot of fun.
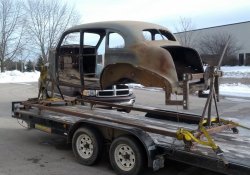
Now, January 2013, I have gotten some ambition to jump back onto the Buick. I thought
I could use the salvaged inner rear wheel wells from the parts car but they turned
out to be in worse shape than I thought and I decided to rebuild the rear quarters
from scratch. It's a lot of work but if I had use the salvaged parts I'd still have
to do a lot of patching.
|
|
|
|
|
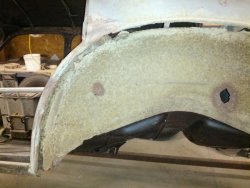
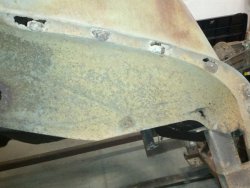
| Last year I blasted the bottom side of the
body. I didn't do the entire body because I got real tired of sandblasting. I
only did the area with the stamped sheet metal that would be hard to clean up by hand.
|
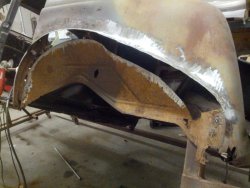
This the typical rot that is in both rear quarter
panels.
|
|
|
|
|
| Cut out most of the rot. I'm doing sections at
time to try to manage the repairs and not let it get away from me. If I take too
much out at once the entire integrity of the quarter could be lost and I'd have a
mess to try to get back into shape.
|
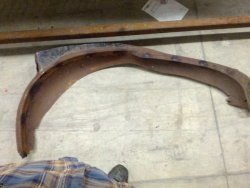
This is one of the pieces I salvaged from the
parts car that I thought I could use but after looking it over I thought it would
take as much work to use this piece as it would take to rebuild the area with all
new metal. There were some weak spots that would have had to be replaced and all
of the caged nuts used to hold the fender on were in pretty bad shape.
|
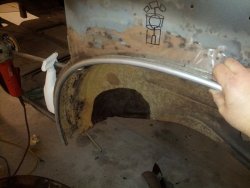
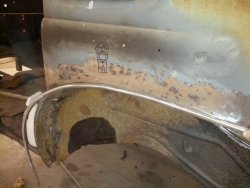
I started out with a piece of 1/2" EMT conduit
and bent it using a conduit bender into the same shape as the beaded lip that follows
the dog leg, up to past the center of the back fender. I then used an angle air
grinder to split the conduit so I had a mirror piece for the other side. The conduit
was slighty wider than the original bead, about 3/4" compared to about 5/8". I use
a body hammer to narrow it. I then removed the galvanized coating, inside and out,
so I wouldn't have the nasty smoke and fumes you get when welding galvanized meta,
which isn't very good for you to breath.
|
|
|
|
|
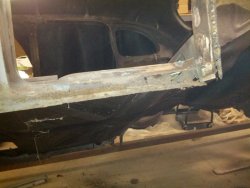
| The rocker panels are in bad shape on both side,
pretty much from front to back. I am doing a section at a time.
|
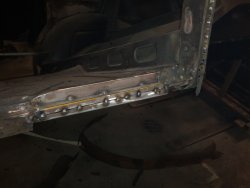
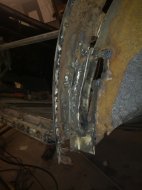
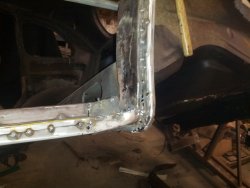
I had to fab a complex piece for this section. This
where the tack rope is located that the upholstery is attached to. This also the trough
that the drain hose from the quarter glass runs. This hose comes loose and allow water
to drain into the quarter panel and cause the metal and rear seat to rot out.
|
I have the pieces tacked in. I want to make sure
the doors close properly before welding in the patches in with solid welds.
|
|
|
|
|

|
|
|
|
|
To page 11
|
|
